Somebody gave us a steam cleaner a few months ago. We’re fairly happy with this device because it cleans up the floor better than a mop, but it recently fell and stopped working. Steam would be produced for a few seconds after starting, but then water would flow through the cleaning head instead and the floor was flooded. I took a look inside, and this article shows how a steam cleaner is built.
Outside

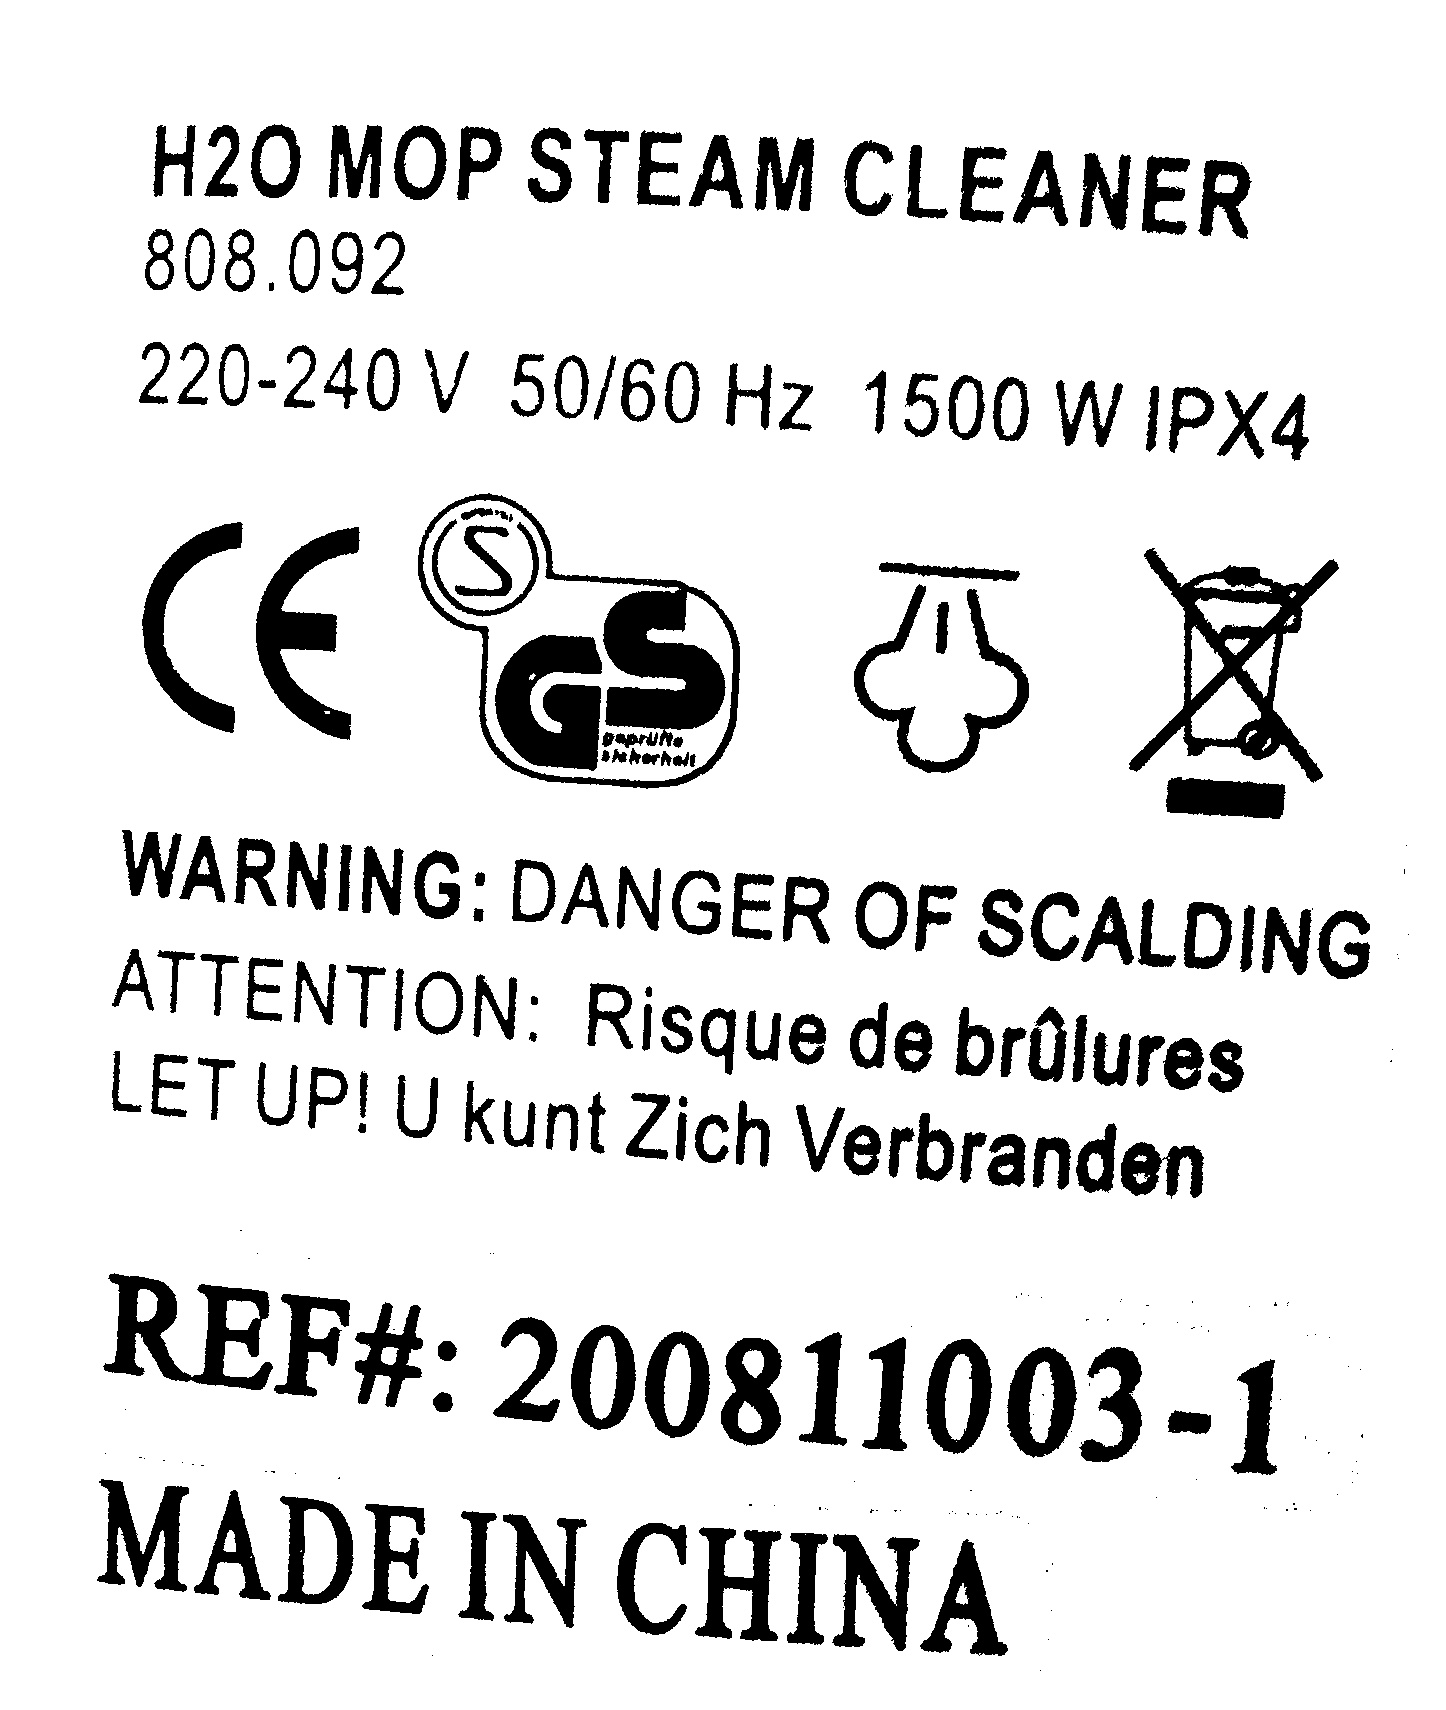
The label reads: “H2O mop steam cleaner 808.092 220-240V 50/60Hz 1500W Ref#: 200811003-1”
And of course, “made in China”.
Opening up the patient
I apologize for the crappy pictures. I was focused on fixing the device and these pictures were taken as an afterthought with a not-so-smart smartphone.
This is what the inside looks like:

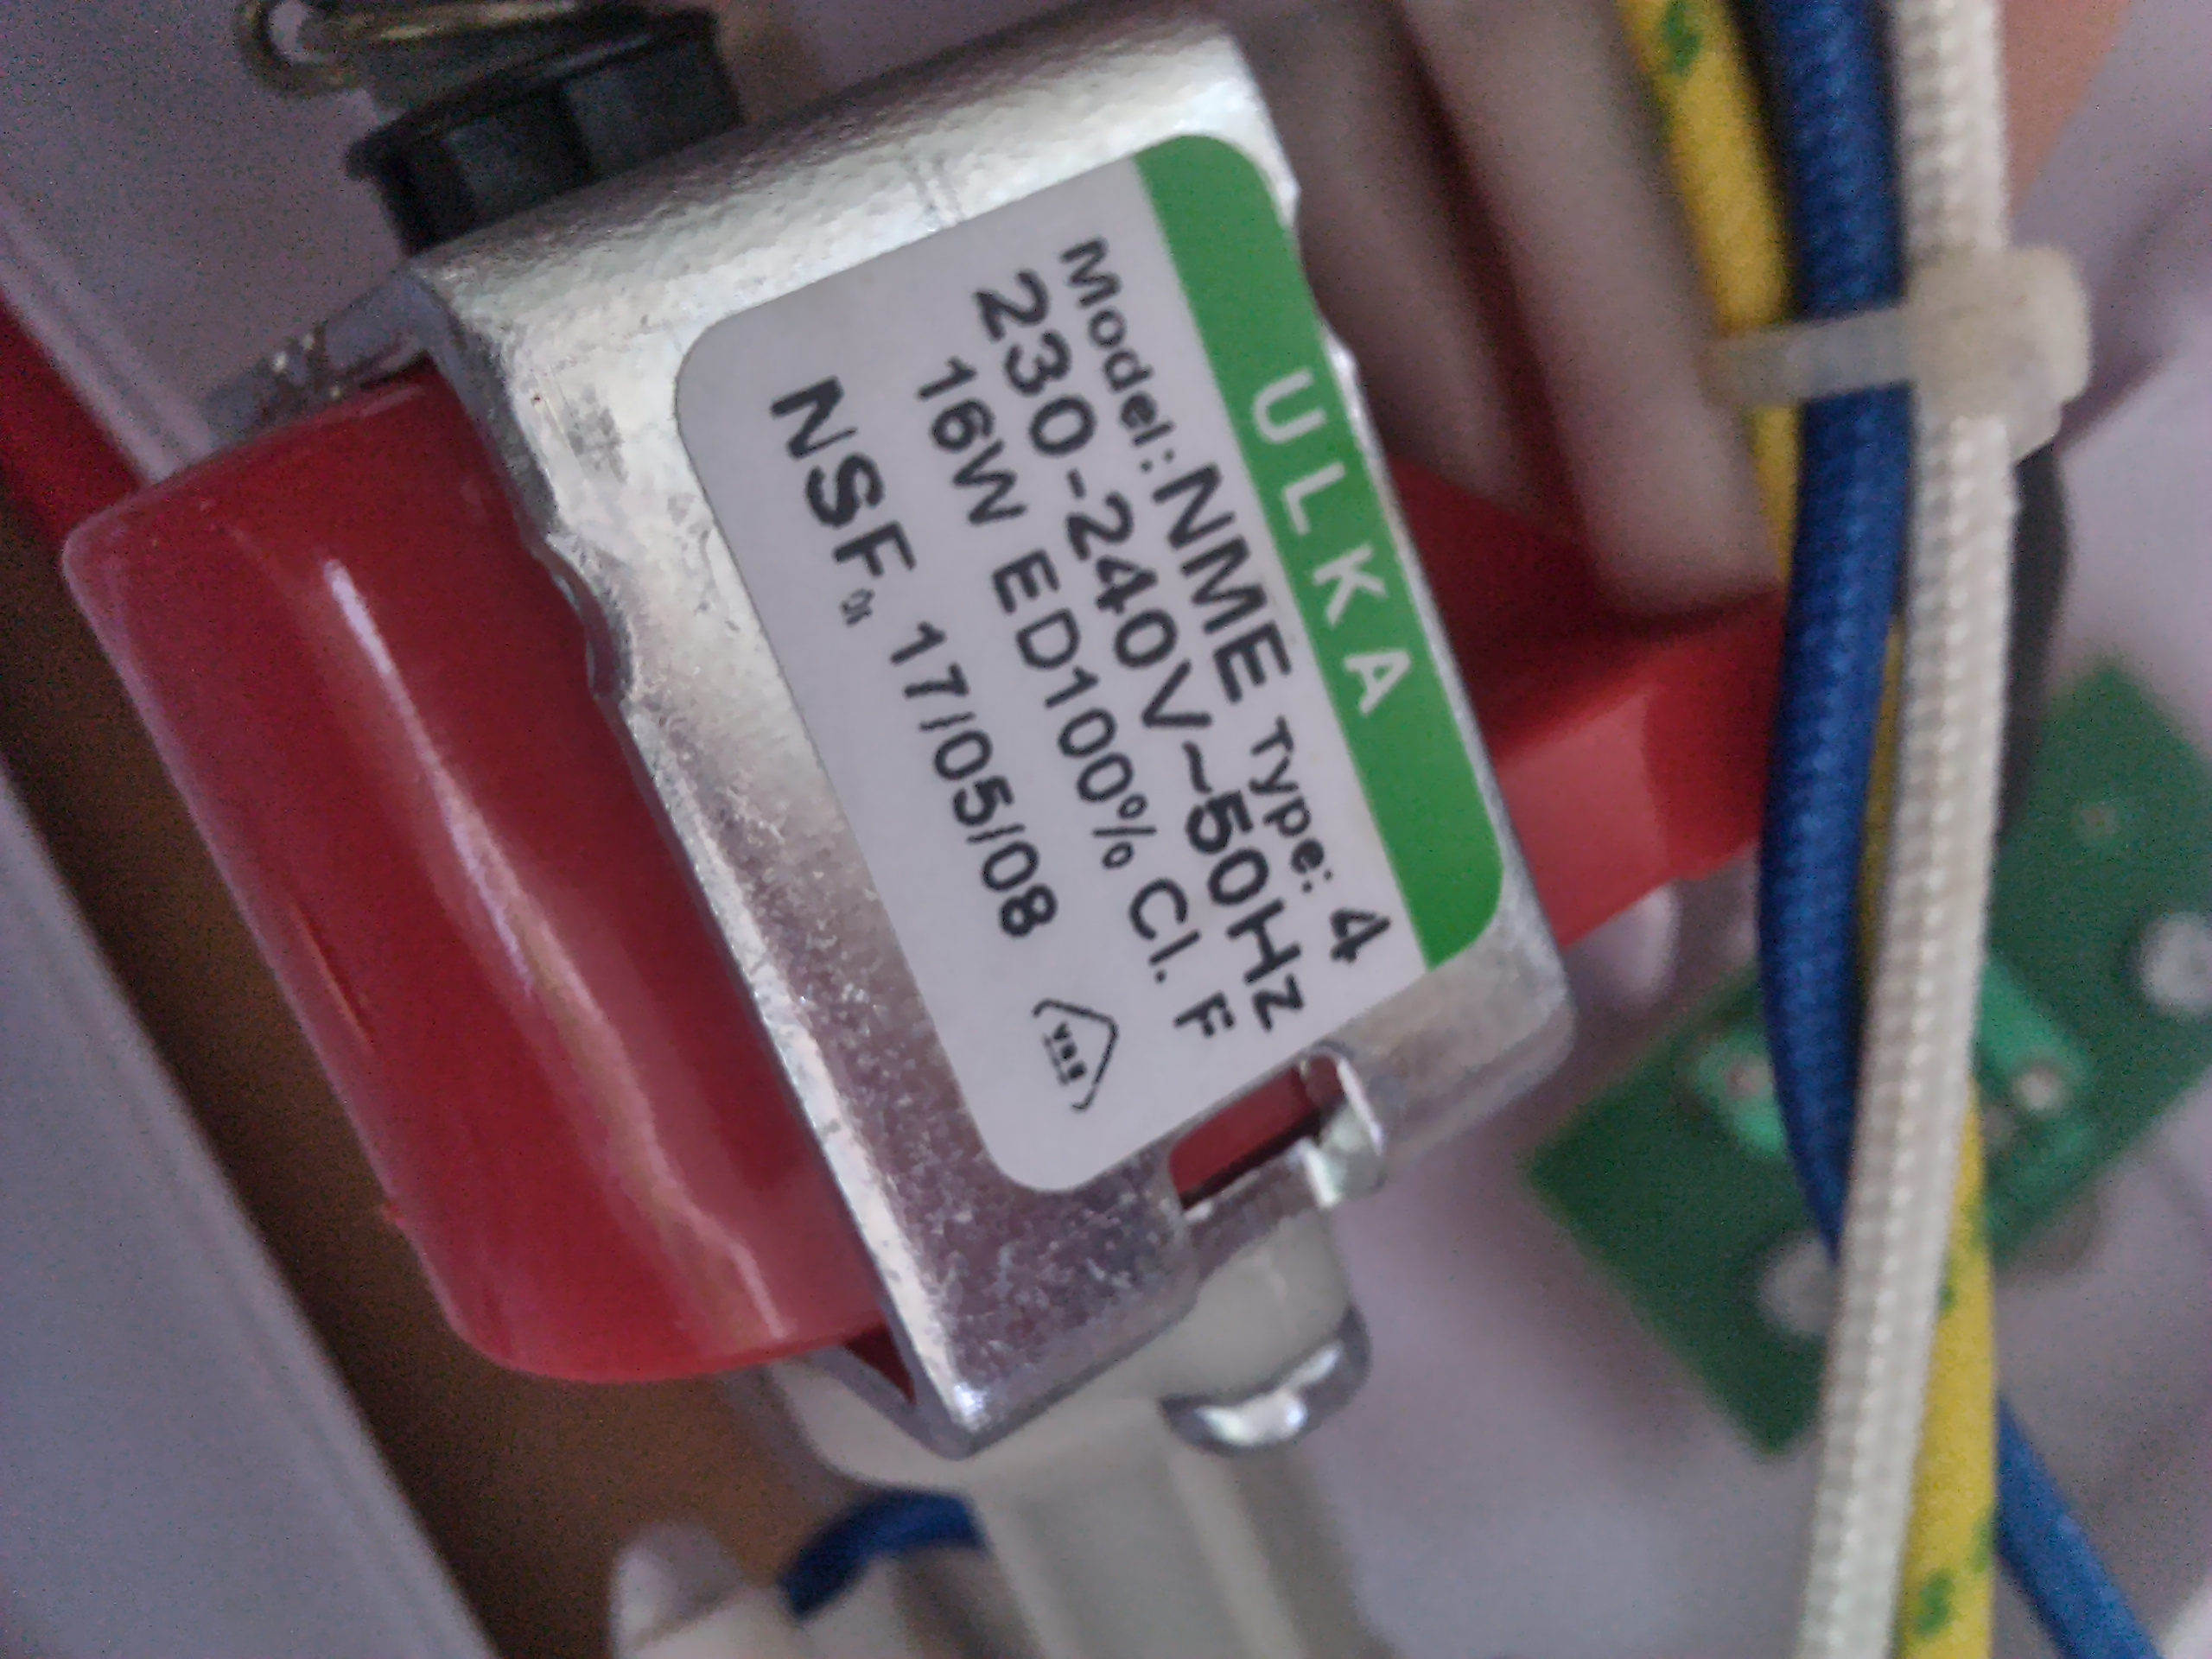
On the left of that picture is a brown, glasswool-packed element. This is the heating element that produces steam and outputs it at the nozzle on the left (the cleaning head has been separated at this point, all it contains is a bunch of plastic to direct steam, and a small pipe). The red part that connects to the heating element is a Ulka NME type 4 water pump:
 .
.
Further on the right is a PCB that implements a timing circuit to control the LED. This PCB uses a 555 timer chip and isn’t actually connected to the heating element or the pump: the only thing it does is light the LED red, then green after some time. In other words, it does nothing useful at all and is an added cost. Don’t rely on the LED to know whether the cleaner is ready or not, it doesn’t know any better than your stopwatch does. (As far as I can tell as long as the cleaner is plugged in - even if not started - the heating element will be powered up. So don’t leave the cleaner plugged and not running. Also don’t leave it unplugged on hardwood floor after using it, it will ruin your hardwood. We learned that the hard way.)
Here is a clearer view of the top part of the device:
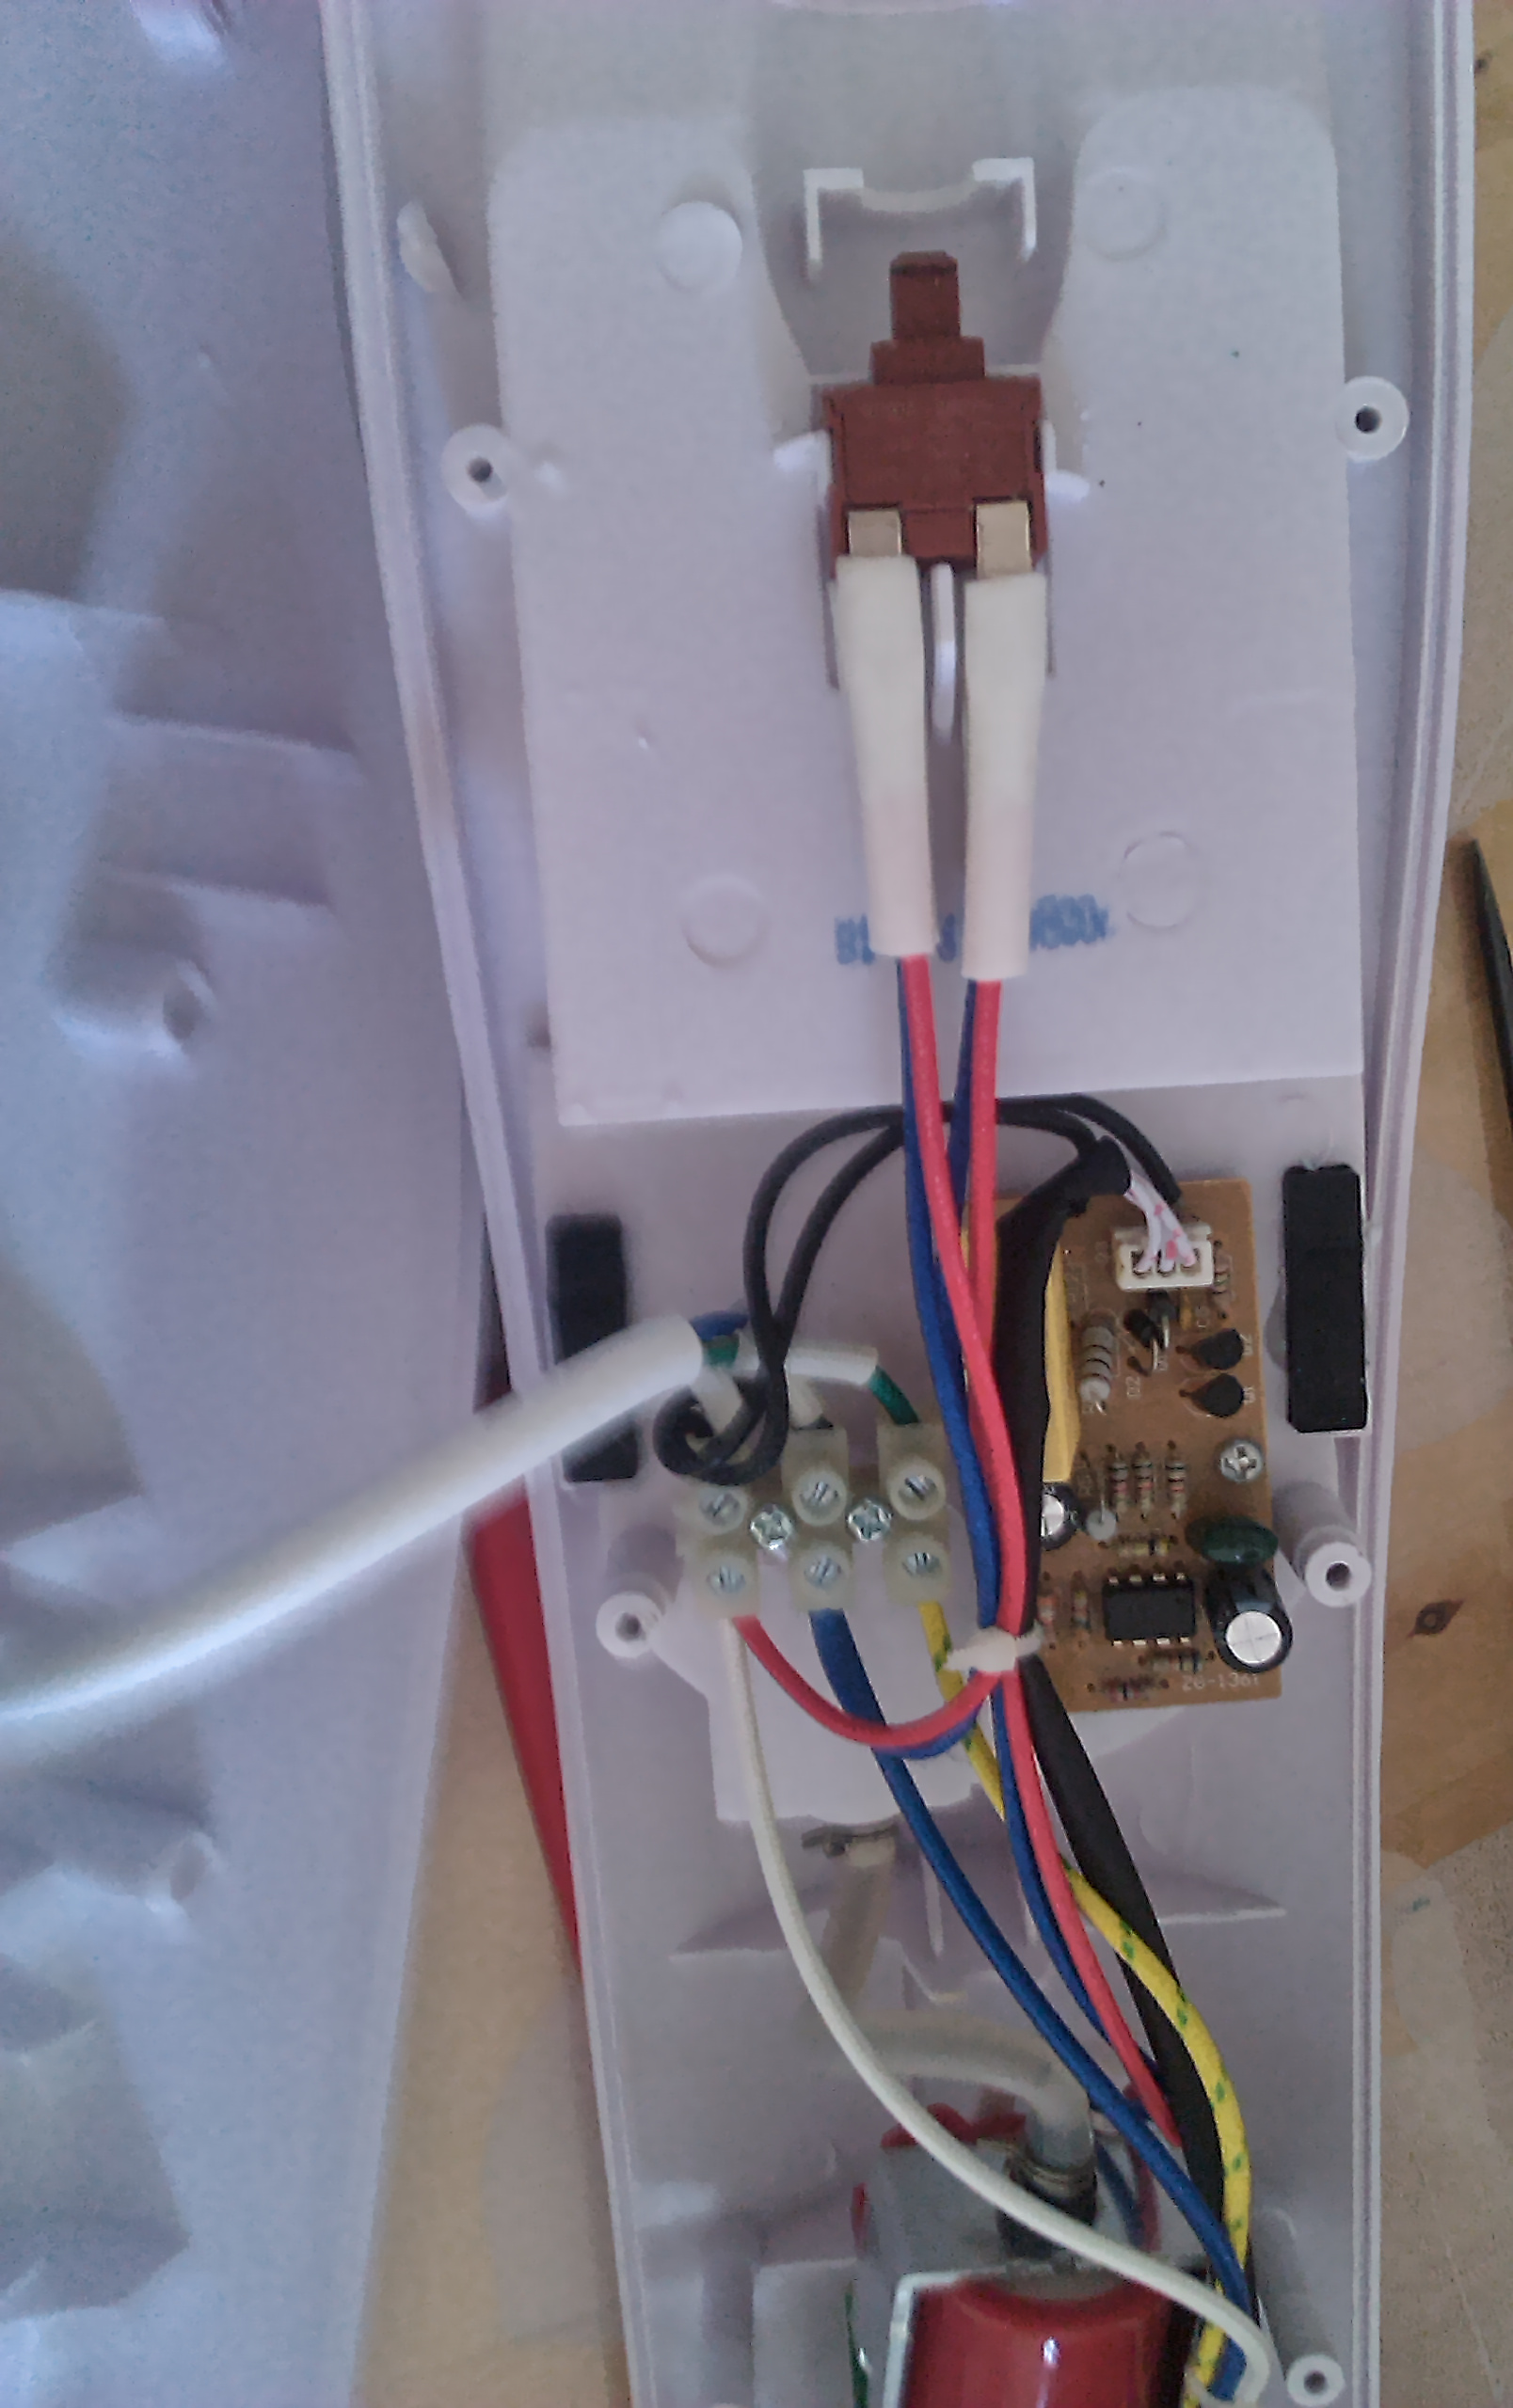
The useless timing circuit is seen again, and at the top is the switch that is activated by the trigger on the handle (handle is not shown on the picture).
Closeup on the PCB:
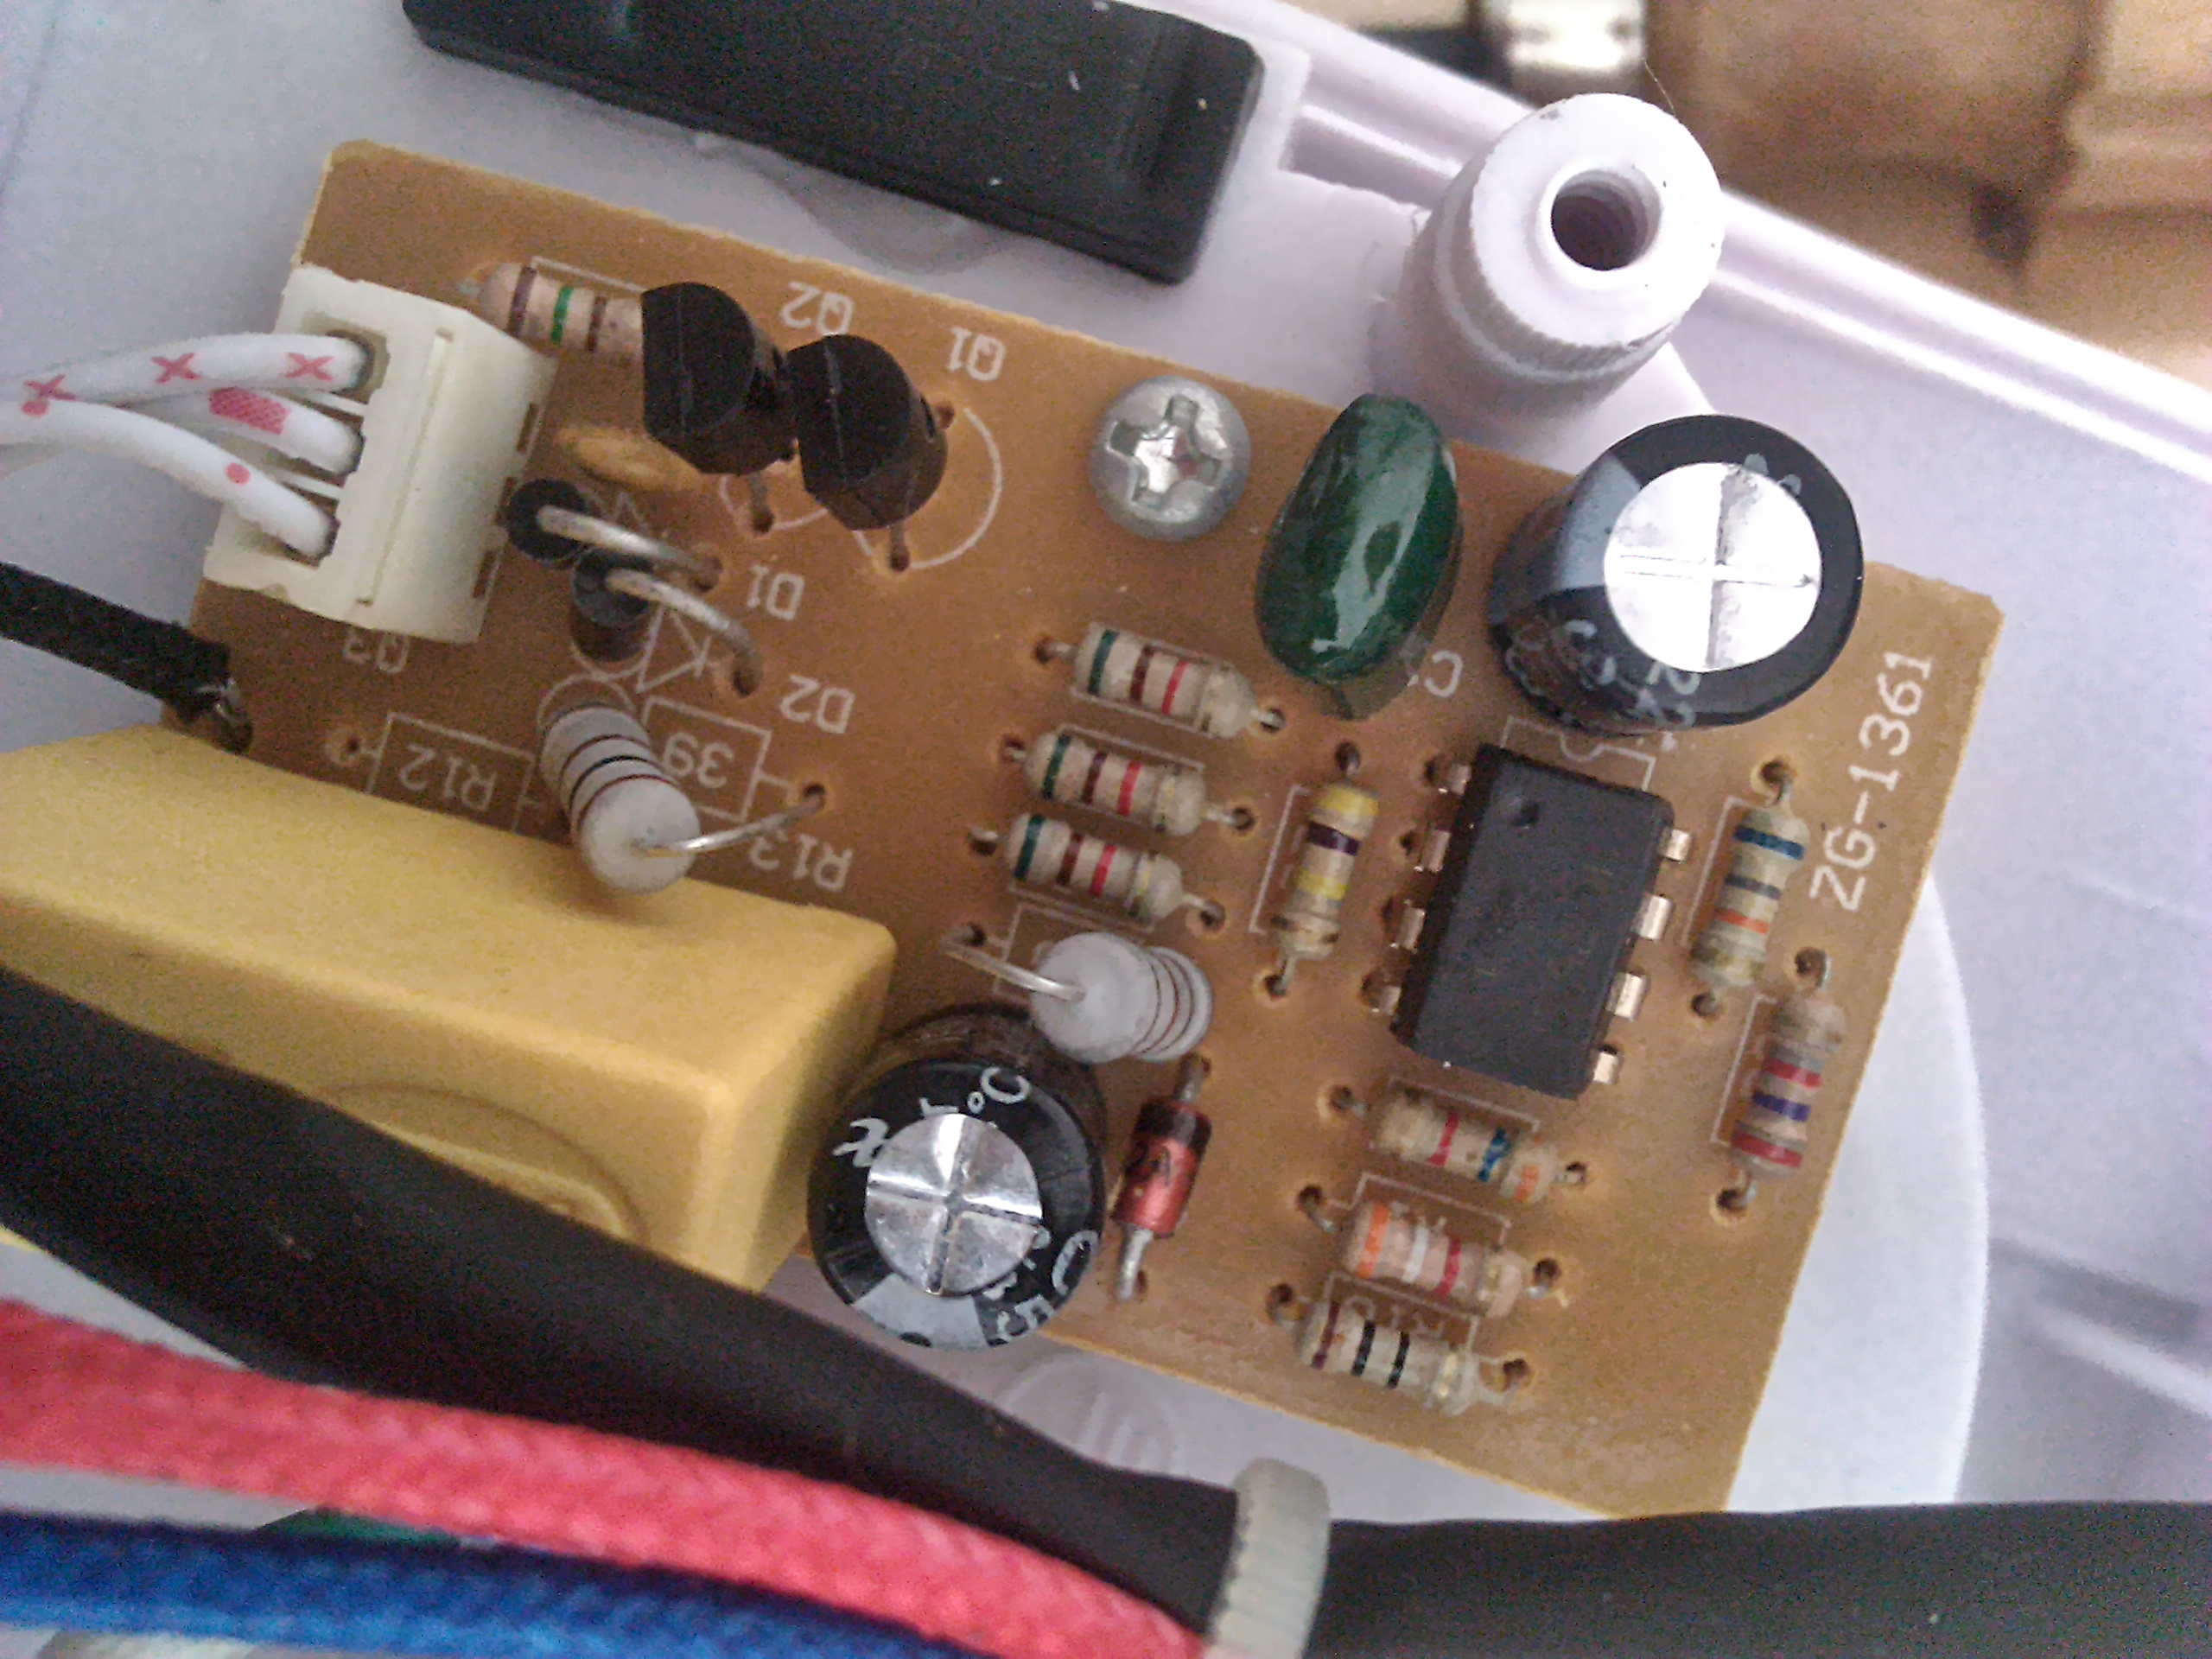
The chip is a 555 timer, the yellow brick is a capacitor used to implement a transformerless powersupply for the 555 chip. The three wires on the connector are for the two-color LED, and the two black wires (only one visible on the picture) go to mains.
Fixing the problem - first attempt
Nothing looked obviously wrong. I measured the resistance of the heating element and it seemed to be OK (corresponding to about 1.5kW which is the rated power of the cleaner). Then I looked at the nozzle and saw how small the opening was, and it dawned on me that this cleaner had never been descaled before. Folks, when a device using water+heat starts misbehaving, first and foremost remember to descale it (with diluted acetic or citric acid, most households will have appropriate chemicals readily available). Running a full tank of diluted citric acid through the cleaner fixed the problem… for about 15 minutes.
The problem persists
I believe that the thermostat was no longer working properly. It is a KSD301, 150°C model, and from what I could tell it would correctly open at 150°C… but it looked like it never closed back, at least not with a reasonable delay, instead letting the heating element cool down way too much (and therefore stop producing vapor). I ordered another KSD301 from eBay - luckily they’re cheap - and tested the cleaner with the thermostat shorted. Of course that would be dangerous were it not for the thermal cutoff fuse that I didn’t see! That fuse blew (at 240°C, so I really was playing with potential fire), rendering the cleaner useless until the fuse was replaced.
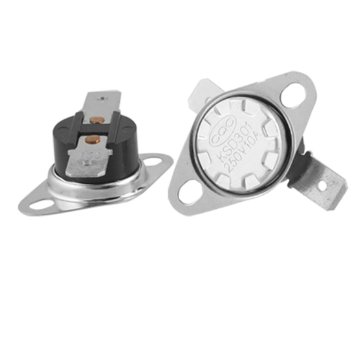
Unfortunately, delivery of the KSD301 never happened, and I had to re-order one. The delivery finally happened 2 months after I had opened up the cleaner, and by then I had, quite stupidly, lost a critical part: the heat protector sleeve that the fuse goes into. The fuse was in fact (sorry no picture) held against the body of the heating element, which is connected to ground… while the fuse of course is connected to the live wire. So a thermally inert electrical isolation was needed between both, and that isolation was a typical “thermal sleeve” like the one that can be seen in the picture below.

I couldn’t find that sleeve again and don’t have a ready supply of it at home, so I attempted to use heat-shrink tubing instead - alas it would melt and, invariably, allow the live wire to touch the ground wire, cutting power to the whole apartment. Only after throwing away the cleaner (not the thing I’m the proudest of) did I find the missing sleeve… so I might have been able to fix the cleaner after all.
Cost in parts: about 5 dollars. Cost in time: about 6 hours. Success: none.