For a party, I’ve created a lighting effects device to put the dancefloor on fire.
Objectives
The device will analyze the music in real time and use the results to drive light effects.
Three kinds of light effects will be supported:
- slow fade between strong colors (for the calmer moments such as dinner)
- lighting sychronized with the beat of the music (to make people dance)
- variable-frequency stroboscope (manually activated)
Selecting the effect must be accessible to anybody, including a drunk guest.
Implementation: hardware
As usual this was done in a hurry with whatever I had available. For lighting, an RGB LED strip is used, preferably of the 5050 kind, and of sufficient length given the size of the room. The strip will be driven by power MOSFETs, that must be chosen correctly. As an expedient I used one of the “led strip amplifiers” I talked about. These small circuits are used to amplify the signal at the end of a long run of LED strip, but by tearing them down one can reuse the power transistors directly. These aren’t very good, but they’re small and I only had these anyway. The power supply will be a typical 6A 12V DC block. The current depends of course on the length of strip, but keep in mind that it will generally be fairly low as compared to the maximal theoretical current: in strobe mode, duty cycle will be 50% (so current will be 50%), and the duty cycle will be even lower in the other modes, all the more since R, G, and B will rarely be used at the same time at full power (otherwise we’d save ourselves some trouble and buy a white strip).
For the logic, I went with the usual “Arduino pro mini” Chinese clone. This model is a 3.3V 8Mhz device, as the lower voltage is useful for battery-powered projects. As a result, the total computing power will be lower than with a typical 16MHz Arduino, which might be (but wasn’t) an issue when analyzing the music.
To tap on the sound signal, 3.5mm jack connectors are used. I salvaged the female connector on an old CD-ROM drive (I sawed the PCB), and used a male 3.5mm jack cable for the male connector. My circuit will therefore be connected between the computer and the amplifier.

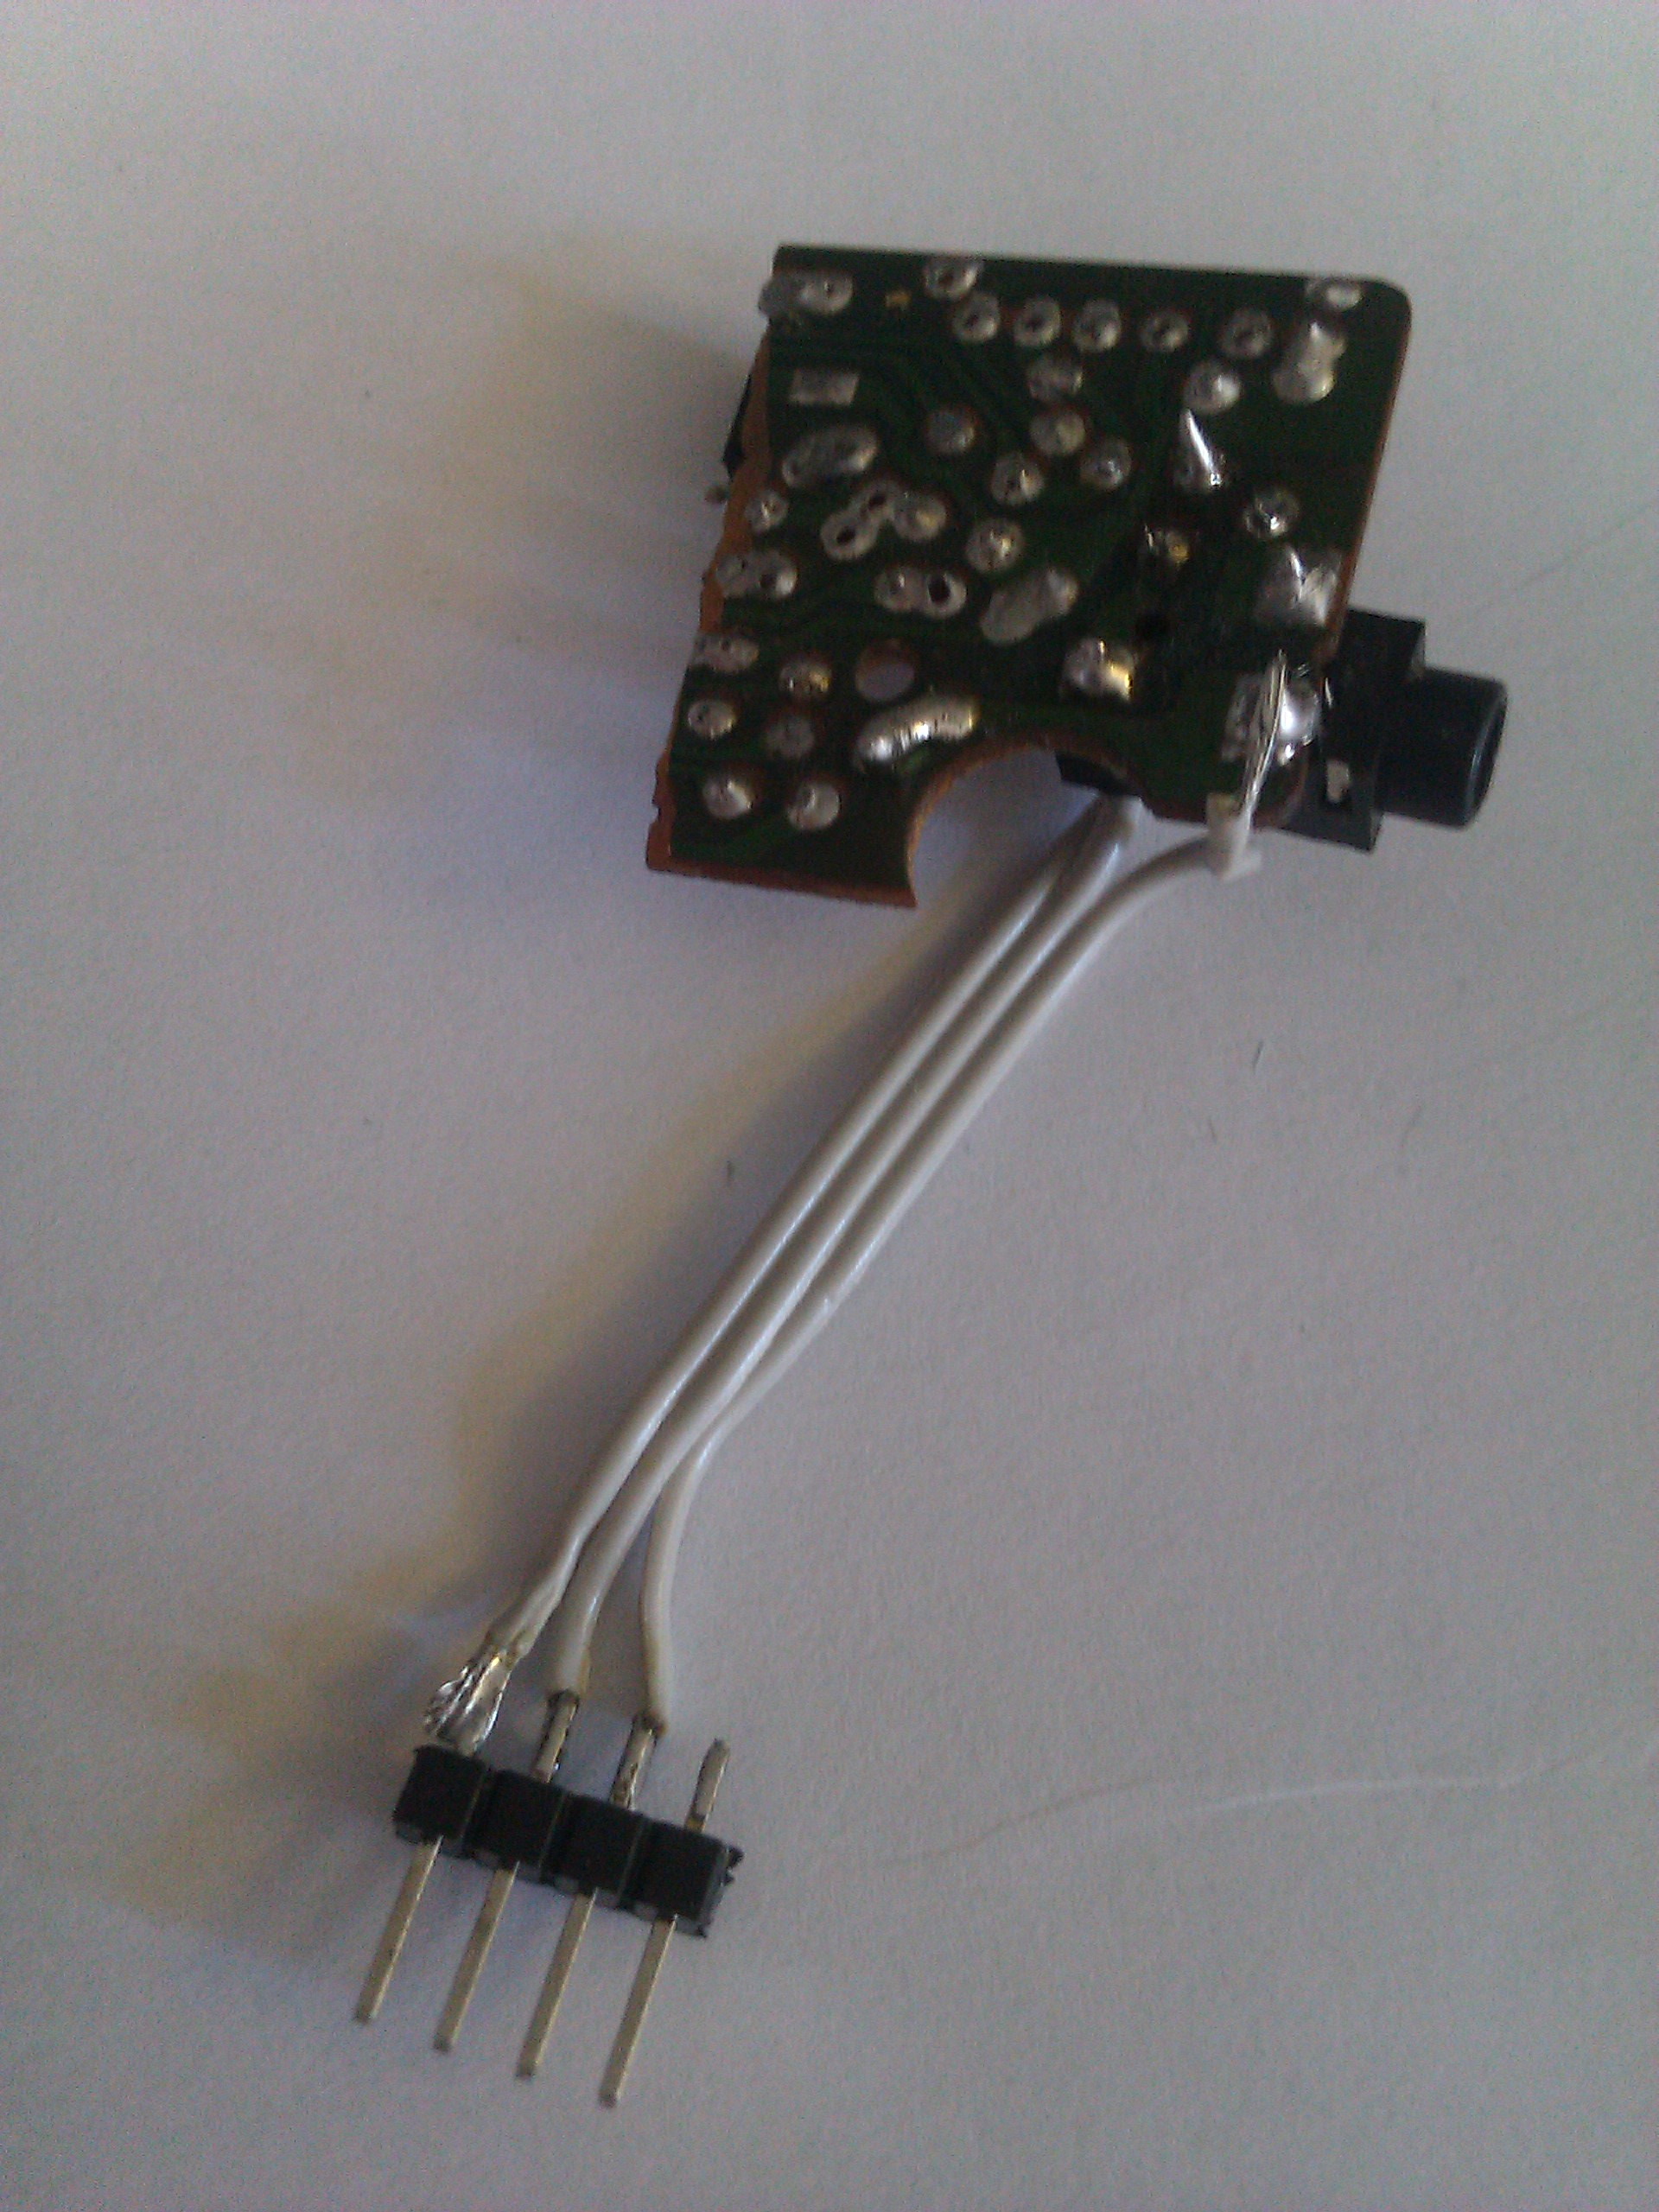

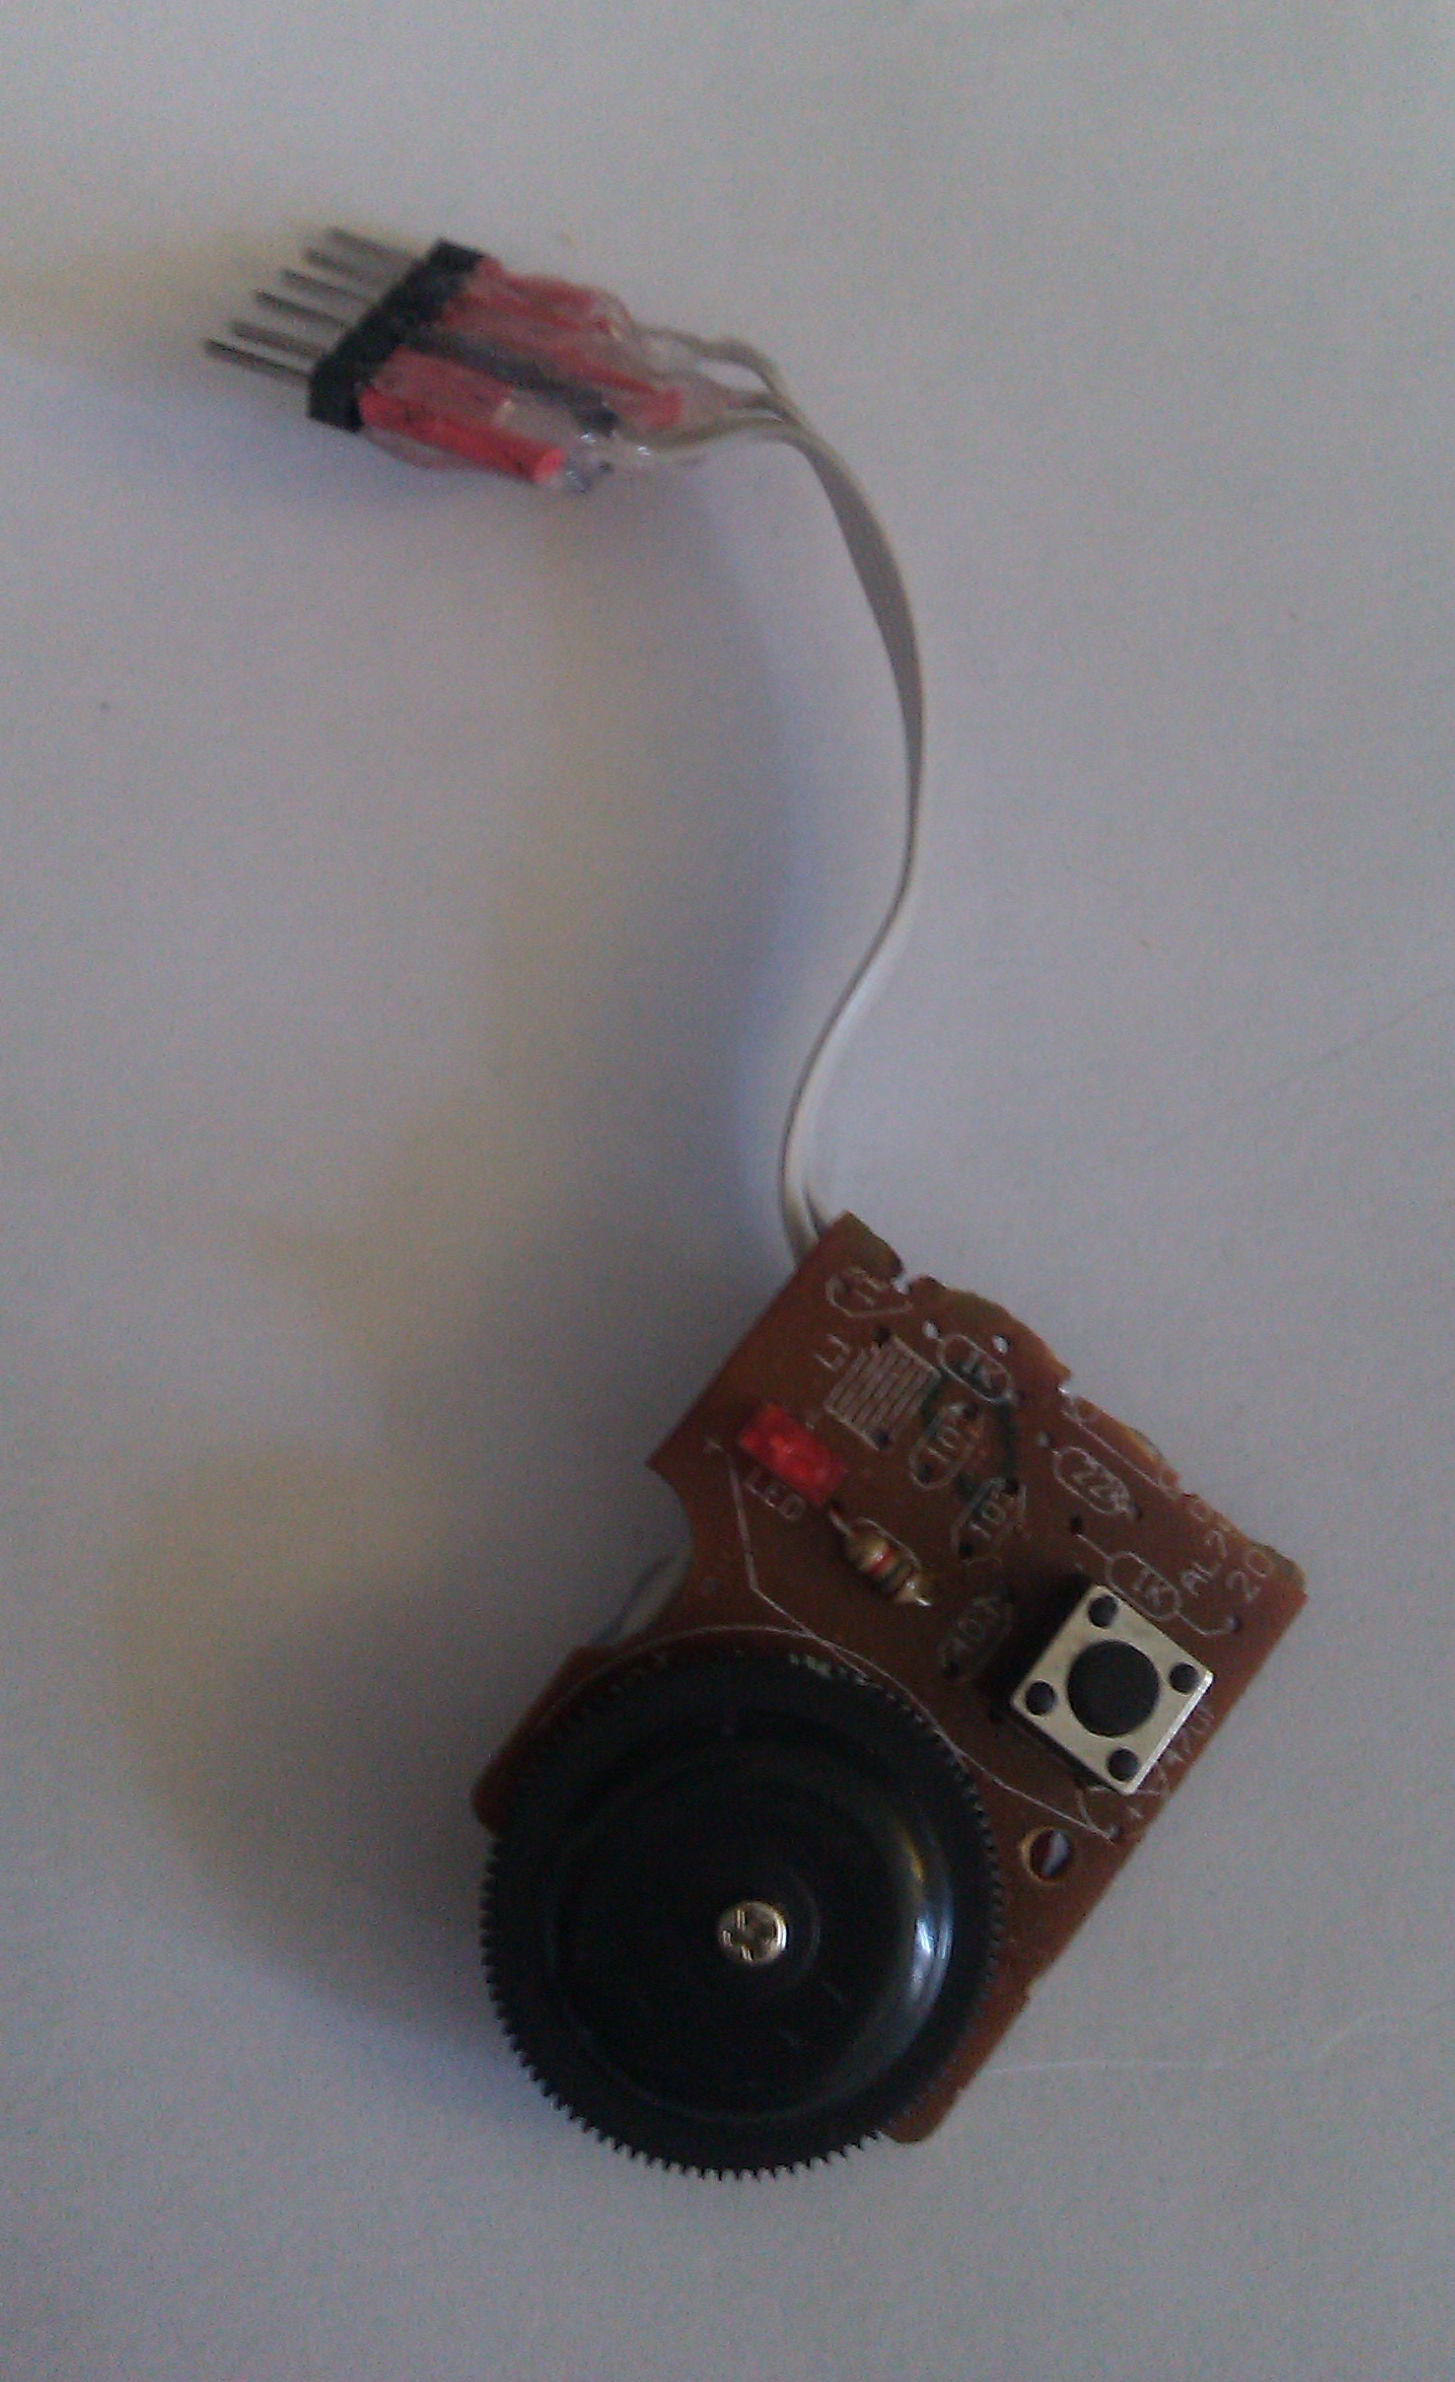
To interact with the circuit, I’ve added an interface in the form of a microswitch and a potentiometer, both salvaged again on a CD-ROM drive. The potentiometer was the one used to control the volume when reading an audio CD (a completely useless feature as far as I can tell), here we will use it to dynamically change the frequency of the stroboscope, allowing it to start slow, become faster (slowly ramping up the excitment from the audience), then slowing it down again before everybody starts vomiting. The microswitch will be used to change between the different effects (OFF, FADE, MUSIC, STROBE).

Implementation: software theory
I’ve already worked on color fading in another project that I haven’t written about yet. It was about reimplementing the light effects of these famous Chinese LED-strip-controllers-with-remote. The controllers are of low quality but the remote is useful.
A stroboscope is conceptually simple to implement, and making its period vary dynamically based on the potentiometer value is easy. The main difficulty of this project is of course analyzing the music in realtime. This part took me more than ten hours of experimenting and fine tuning.
There are in fact two problems:
- analyzing music to compute numerical values that are correlated to the “strong points” in the music (by detecting interesting “things” in the music)
- using these values to compute the R, G and B values to drive the LED strip (hence deciding the color to give the strip)
These two elements are different, and we have to master them both: if the analysis sucks, the color of the strip will not change based on the strong moments in music, and if we detect these very well but can’t pick the right color and lightness, the result will be of little value as well.
Music analysis
The naive approach would be to detect large changes in amplitude. However, intuition makes me think that it’s not going to work well at all, especially on “pop” musique with compressed dynamic (such that the envelope of the signal doesn’t really vary).
The second natural method that comes to mind is the Fourier transform, that analyzes the frequencies in a segment of music and allows differentiating bass from treble, hopefully allowing us to draw useful conclusions. We’re not going to reimplement a Fourier transform on the Arduino. In fact, we’re going to use a slightly different algorithm called FHT, implemented in an Arduino Library that will do the math for us: ArduinoFHT.
The principle is as follows: we’re going to sample the music with the ADC, feed the samples to the FHT, which will give us an amplitude in each frequency band. Then, our job will be to check that these values do change when the strong moments of the music come, and if it’s the case we’ll be able to use these values to drive the lights.
ArduinoFHT comes with a channel analyzer, that allows you to visualize the different values on your computer screen, so you can directly see if these change when the strong moments arrive.
The answer is yes, but not as obviously as we could have expected. First of all, each frequency band has its won “base amplitude”: when there is no sound, the values aren’t at 0. In the bass range, the base value is around 192 (on a maximum of 256), which means that the actual amplitude of variation (of the amplitude!) will be fairly low, so might be difficult to detect.
I also noticed (by sending sine signals with speaker-test -t sine -f 400) that there is a very much undesired correlation between different frequency bands: for example, a 5kHz signal will have an impact on the band containing 5kHz, but also on the nearby intervals. This implies that the precision of the analysis isn’t great and that we can’t draw very precise conclusions from the raw values.
However, after playing dancefloor music, I noticed on the channel analyzer that values do change meaningfully with the beat of the music. I haven’t unfortunately kept any video or screenshot.
The FHT as implemented can detect beats, but not so much more. Is that enough? We’ll see that it is, but I spent more than ten hours experimenting before finding the right algorithm to drive the LEDs.
Driving the LEDs
We know that our analysis does work, but isn’t very accurate, and will therefore require quite a bit of post processing. Note that I’m giving my results in the “logical” order, but when I did the project I jumped straight to driving the LEDs with the raw results from the FHT (like most projects on the Internet seem to do! no wonder they suck). When I realized that the result was terrible I had to give this more thought and use the channel analyzer to study the behavior of the FHT so I could design a decent algorithm.
The basic idea was to assign each color channel to a frequency band: e.g. blue for bass, green for medium, red for treble. This doesn’t work at all, for two reasons:
- detection of medium and treble doesn’t work too well, due to the correlation I’ve described
- medium, treble and bass often happen together, creating an awesome R+G+B = ugly-white color, which isn’t exactly what one is hoping for with a RGB strip
After a lot of experiments (which burned the Axel F. melody in my dreams for a night), and talking with friends, I decided to go with an HSV approach instead of using RGB. The final algorithm uses bass to drive the value (= luminosity) of the strip, and the treble (or medium, we don’t have to care) will change the hue faster as it’s more intense. Saturation, of course, stays at its maximum.
In order to remove the “base amplitude” in each frequency band, post-processing consists in computing an exponential moving average (the easiest kind) of the amplitude. The difference between this average and the current amplitude value will be used to drive the LED.
Since bass detection is accurate, we’ll use bass to decide of the light intensity - and every bass drum gets its light “flash”. Treble is less important in the strong moments of the music, so they’ll have a real but less obvious effect on the color of the strip, through changing its hue.
Code
The Arduino “sketch” for this project is here.